Creature Topology

So here is the finished topology for my Aquatic creature based off Nicholas Kole’s concept. I’m pretty pleased with how it turned out. He should deform nicely when rigged. The pattern of the quads is functional and pretty even. There are a couple of tris where they couldn’t be avoided but they are in places where they will not effect the movement such as under the base of the ear (Which will not have to move much at all). So here are some shot of the quads; the body, face, backfeet, front feet and underbelly.

aqua4aqua5aqua6aqua7aqua8

Topology for Aqua Creature

Bringing the sculpt into Maya-

MAYA00

starting to quad draw –MAYA01

Facial Topology- MAYA02MAYA03MAYA04MAYA05

rings need to converge around the eye and nostrils MAYA06MAYA07

They are going to come down to the lips and curve round and up to the cheek

MAYA08MAYA09MAYA10

Back-MAYA11MAYA12

MAYA14

Paw structure –MAYA16

Hind Leg structure – MAYA17MAYA18

Topology so far –

Unsmoothed vs smoothedMAYA21MAYA22MAYA23

Whiskers-

MAYA27MAYA28

Mouth Interior – CREATUREGIF13.gif

Tail Fin – MAYA29MAYA30

Constructing the toe formation –MAYA31MAYA34MAYA33

claws –

MAYA35

Front foot-

MAYA39MAYA42MAYA43

Combining body –

CREATUREGIF14.gifMAYA47MAYA46MAYA48.png


Underbelly Topology-MAYA45

Dorsal Fin –MAYA50

MAYA49

Finshed Model

MAYA53MAYA52MAYA51


Creating the dead dog – first steps

So in our murder house we are planning on having a deceased dog at the bottom steps, preventing our camera from going down further. Originally we planned on using my dogs head that I modeled over summer. My other module is sculpting, so why not sculpt him. I’m really looking forward to this. I really love sculpting from my brief experience experience so far. First things first lets choose our doggy model.  I’ve been modelling pitbulls quite a bit because of their really nice muscle structure, so this time I think i’m going to go with something a little different and try a german shepherd.  Here are some of the reference images I’m going to try and work with.

Dog_anatomy_head

-https://upload.wikimedia.org/wikipedia/commons/4/40/Dog_anatomy_head.jpg

55618-004-B4621596

-http://media-2.web.britannica.com/eb-media/18/55618-004-B4621596.jpg

These show muscle structure really nicely and as I’m going to begin with the head, that’s really important.

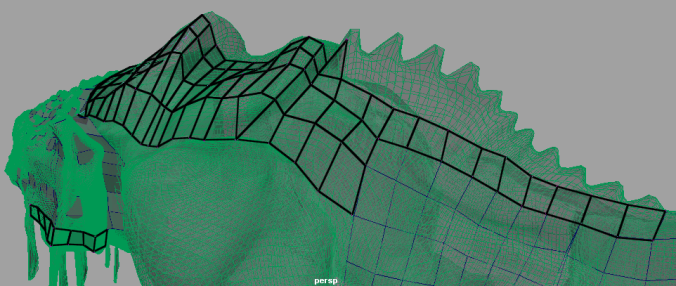
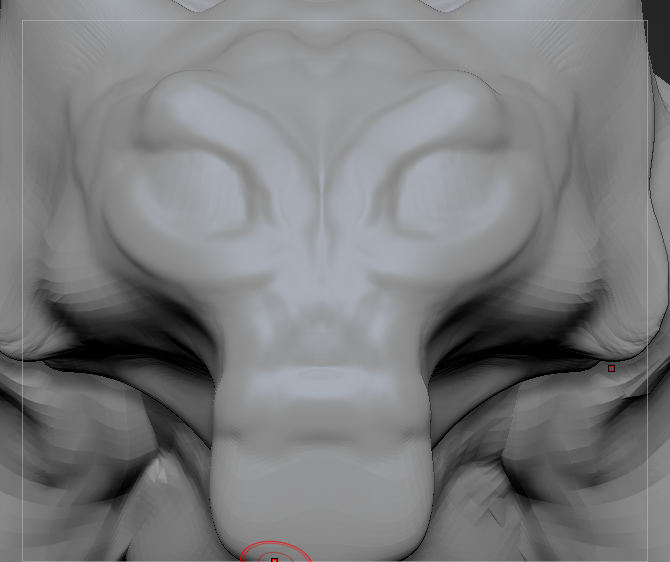
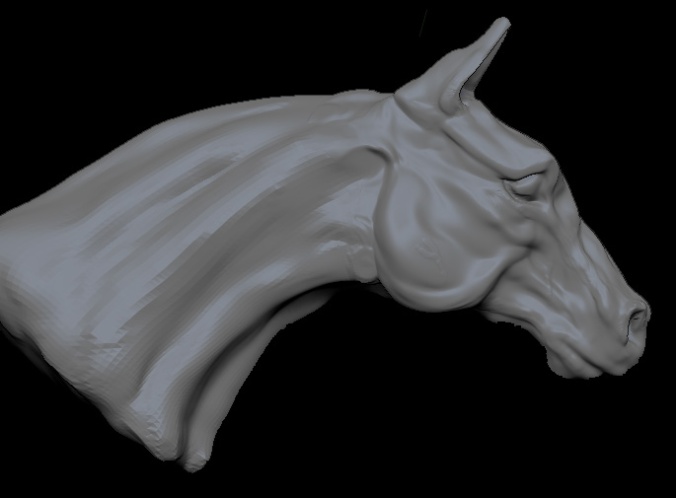
So lets begin Blocking our rough shape and muscle

deaddog 01

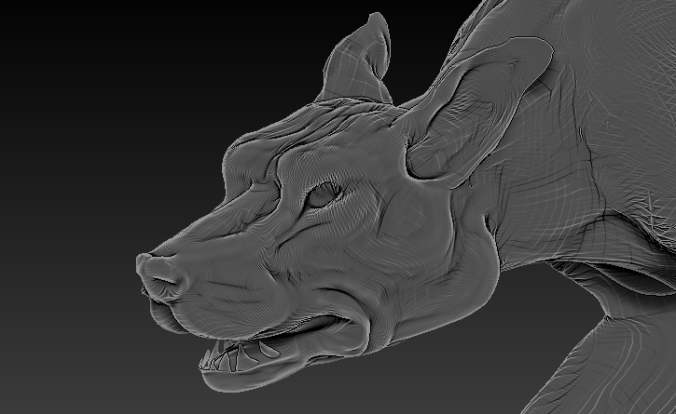
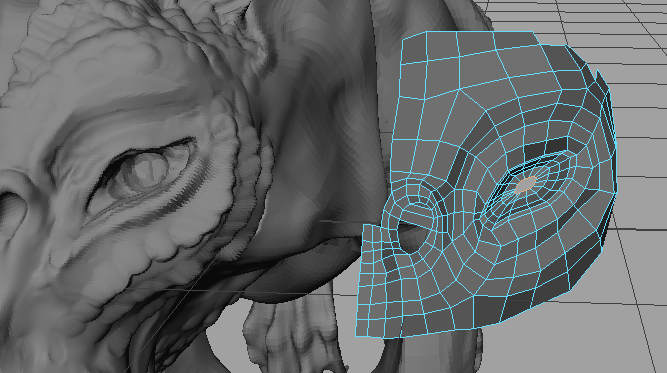
I was careful this time to make sure to distribute the polygons fairly well as in my first dog head the nose had to few. dogzbrushdogzbrush02

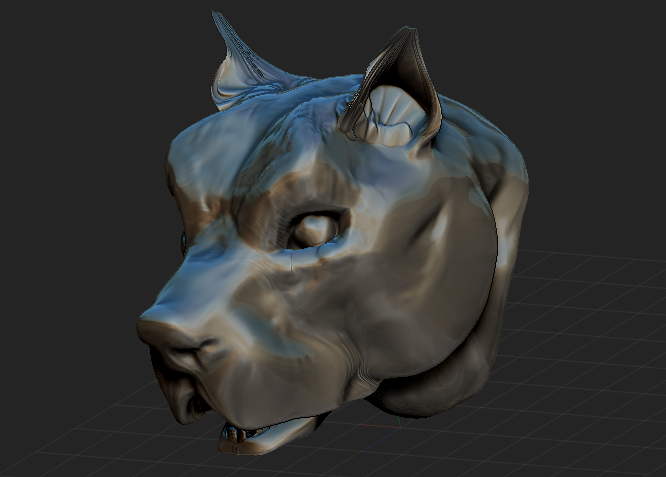
So here you can see I’m filling out the muscles. The primary ones in a canine head being the cheek, jaw, eye and strip along the muzzle.

dog head muscle.gif

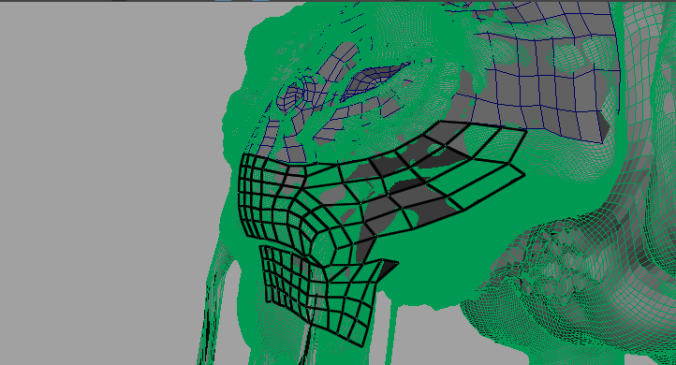
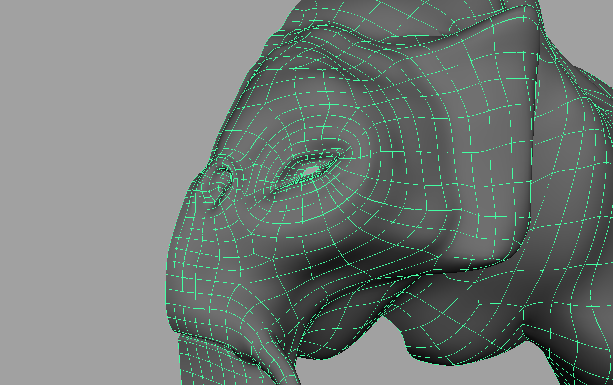
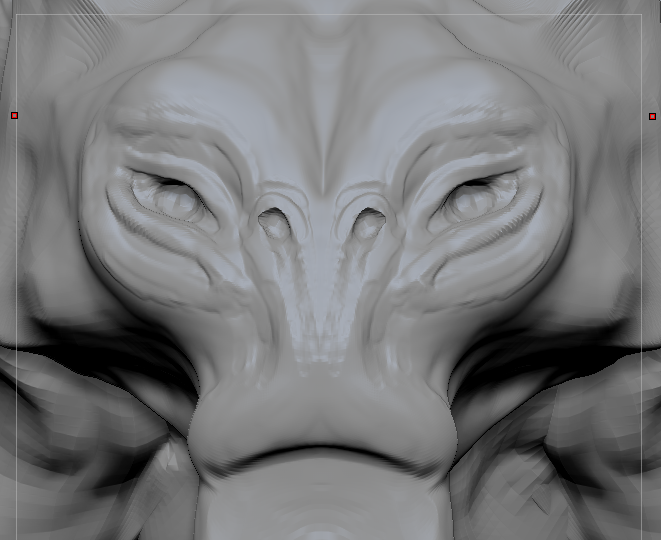
I will now need to resize parts of his head as he has lost some of his german shepherd shape

dog head muscle reshape.gif

That’s a bit better…


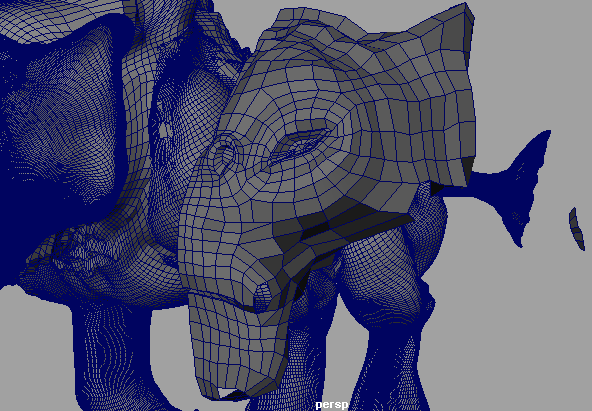
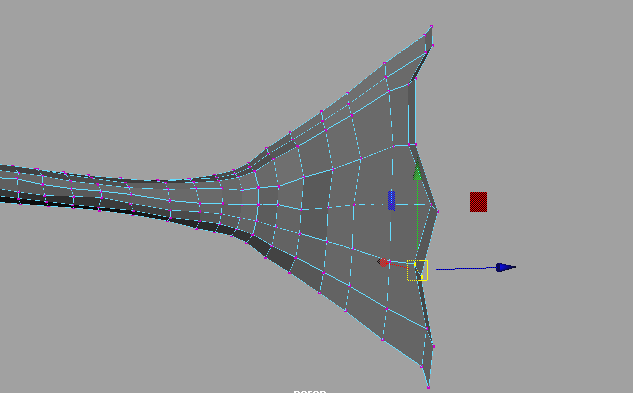
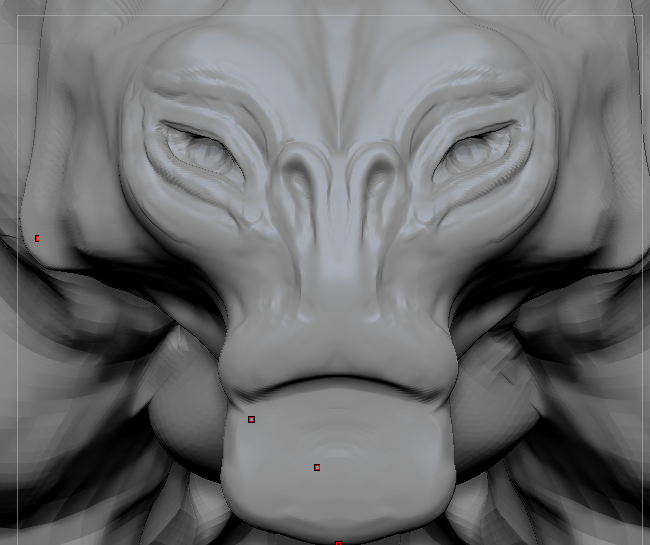
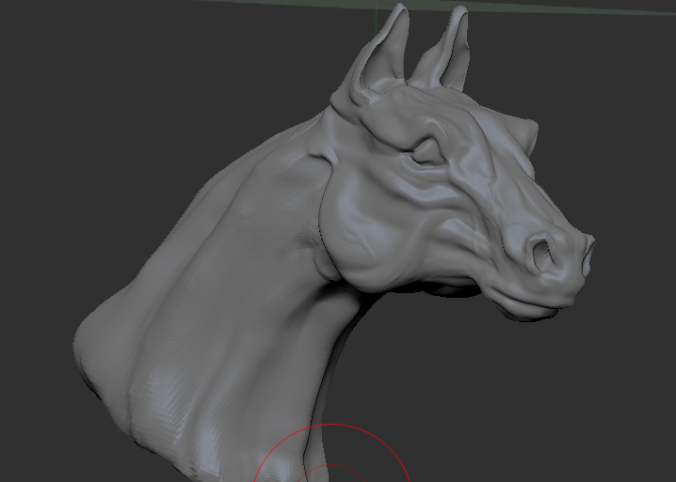
Now I think I’ll block in the ears using the draw curve tube tool! I don’t want to stretch the head mesh as in my last model my pit bulls ears started to really lose polycount.  Here goes..

dog head ears.gif

And presto some nice ears. So I just added on a couple of tubes and shaped them using bcl clay tool and bmv move tool with a little bit of smooth. They’ll need a lot more work but that’ll do for the rough start.

dog head rotation.gif

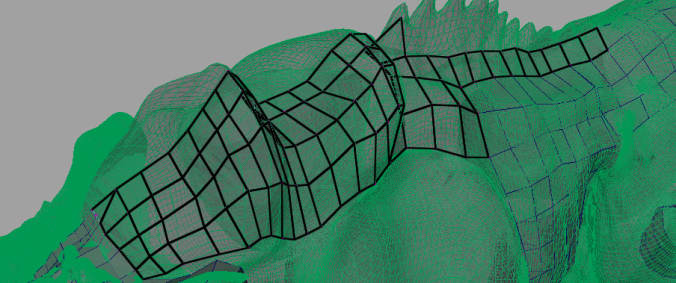
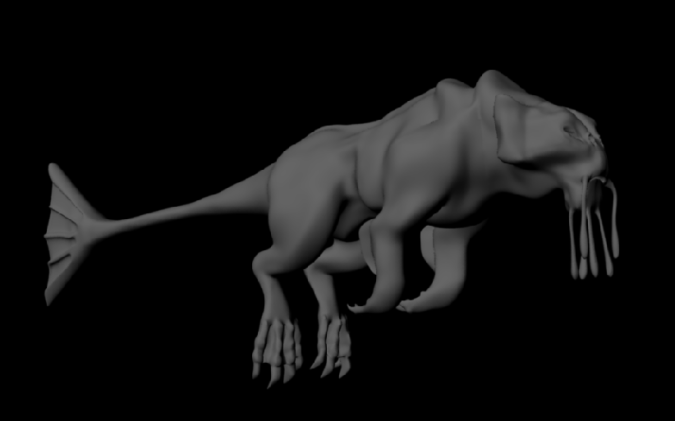
Now I want to block out my body. So I’m gonna use the same method I did with my ears, except with the whole body. So really we need one big tube for the body, 4 for the legs, and one for the tail. He’s dead so he’s going to be lying down. Lets take a look at some lying down german shepherds. (I would look up dead dogs but then I’d just get upset and this model would never get finished.)

poster-ein-deutscher-schaeferhund-liegt-auf-dem-boden-220843

Found this lovely one. It’ll be a good reference. His pose is pretty spot on.

sleepingsheps

This guy’s pose is pretty nice too. I might stick with the pose I drew for a previous concept. Here I did a study of our original plan to have him be based on my other model of the pit bull dog.

deaddog.jpg

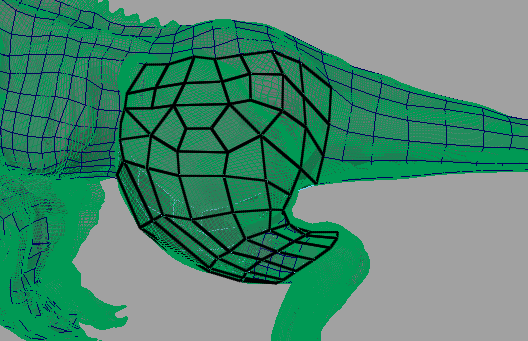
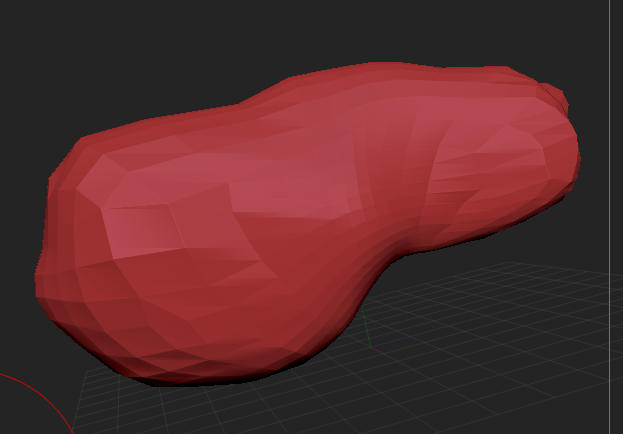
Right so lets do the body

dog body01.gif

Took me a couple of attempts to get it the way I wanted it. But for a start shape I’m reasonably happy with that. Now for the legs.

back legsback legs2back legs4body2.png

I tried to tidy up his form a little bit before I’m going to go in and add the muscle structures.

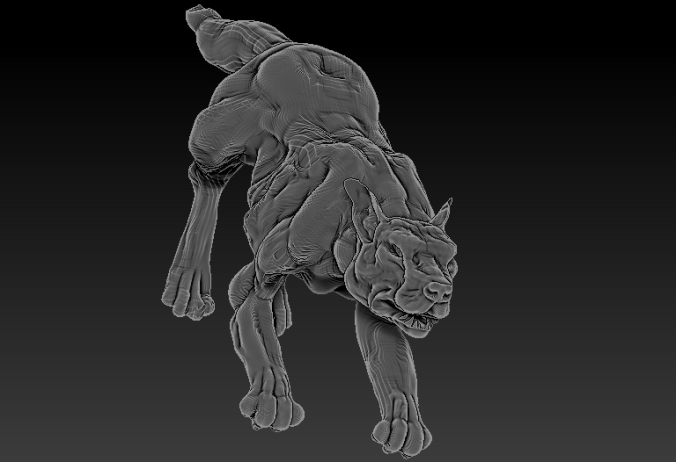
Here is a really cool zbrush model showing very basic building blocks of the dog’s muscle structure i’m going to follow.

-http://oi58.tinypic.com/2v34yl3.jpg

This shows the really simple structures I should follow, then as it gets more advanced… We’ll look at something closer to this.

-https://fbcdn-sphotos-h-a.akamaihd.net/hphotos-ak-prn1/886744_674020729295375_1355753941_o.jpg

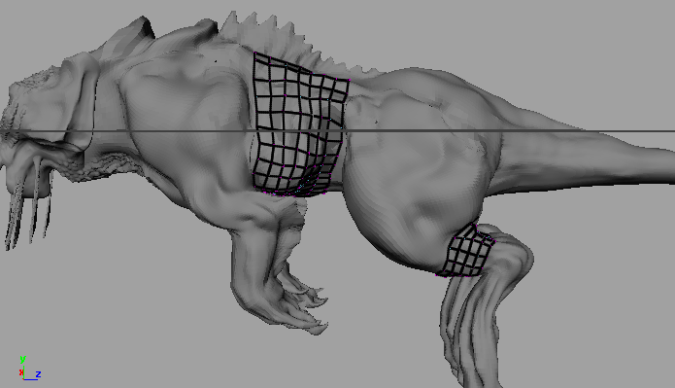
This is also a really helpful sculpt as it shows detailed structure of the anatomy.

-https://s-media-cache-ak0.pinimg.com/736x/97/17/4d/97174d4d55250fd63a3f709fbac8a95b.jpg

So now we have the main structures I’m going to put in minus little things like the teeth.

main.gif

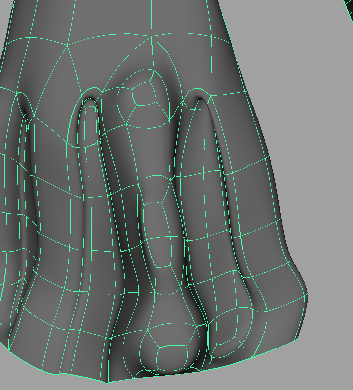
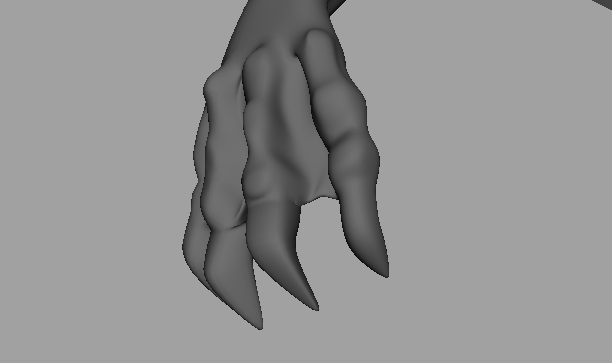
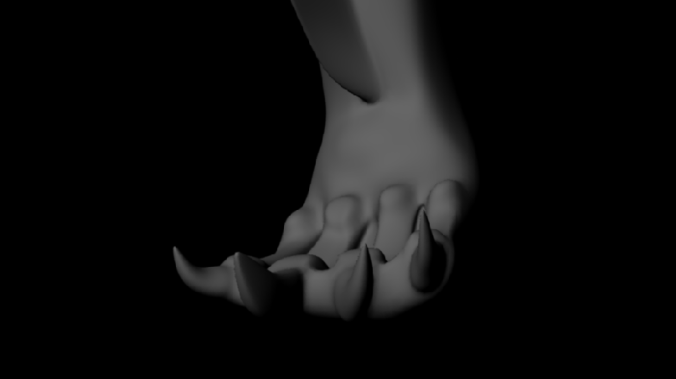
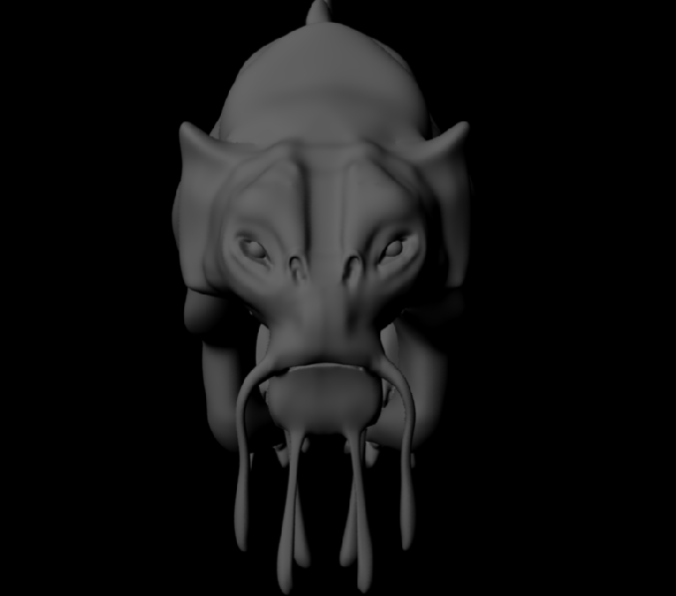
Next I added some teeth

teeth

musclestart.gif

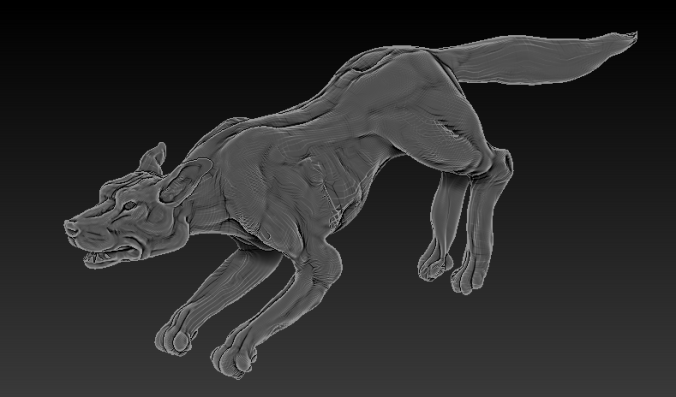
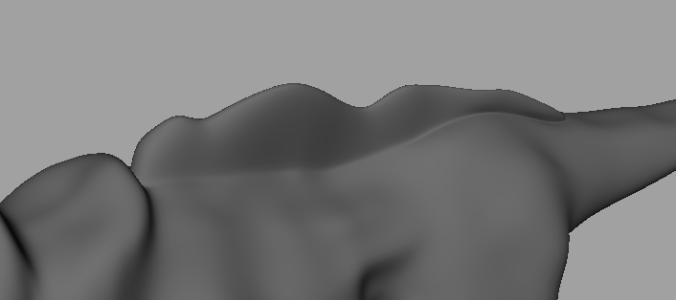
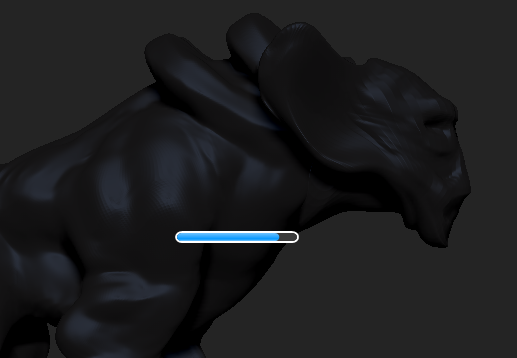
So now I’ve started to think about muscle body structure. I’ve been looking at mine own dog for reference. Its easy to get carried away and make him look like he’s taken too many steroids. I need to make sure to reign in it a bit and make him look like a dog not a hulk.

head1head2

body3

DOG.2DOG

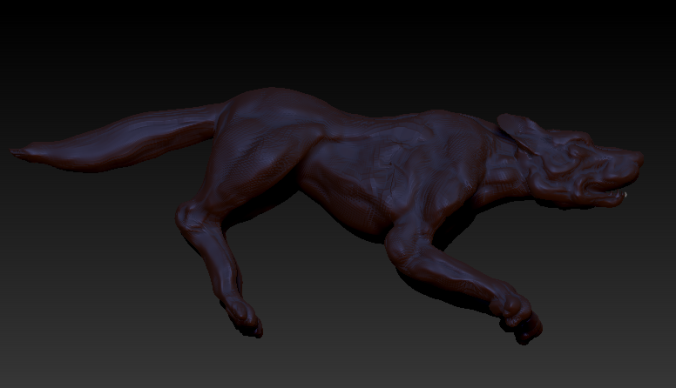
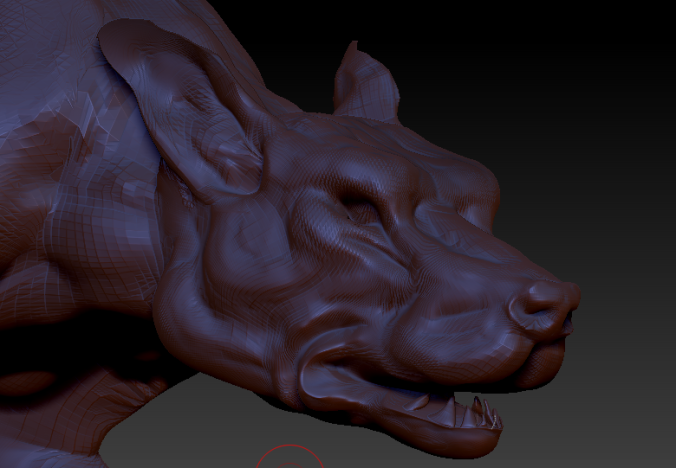
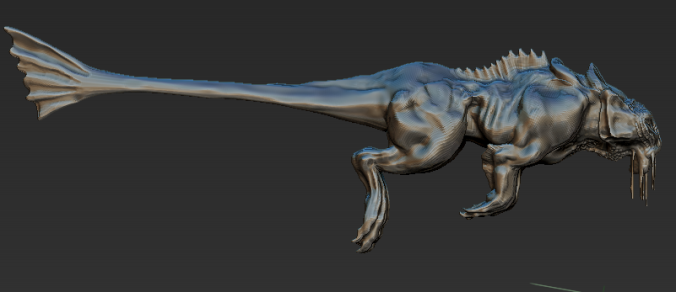
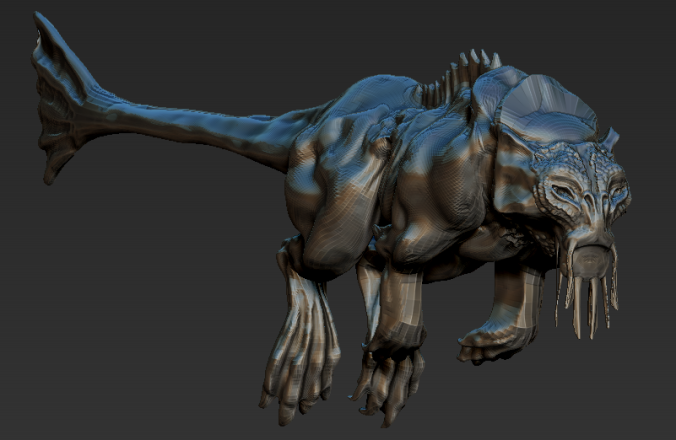
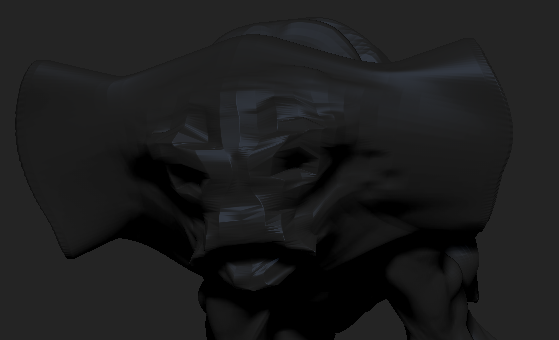
So that’s his muscle structure in. I think I’m going to go in now and work on a few little details.
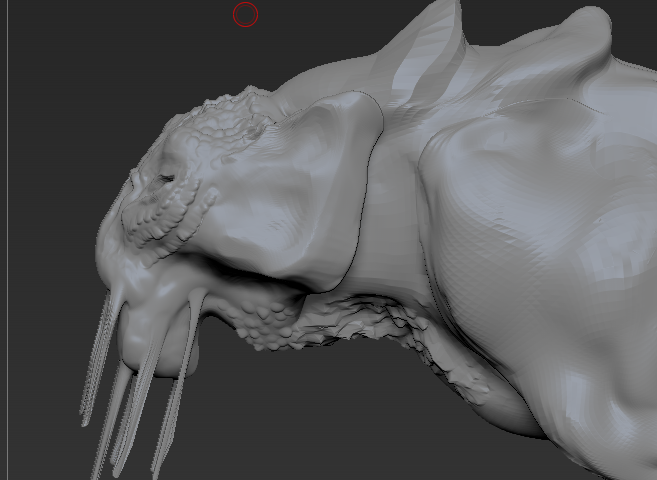
DETAIL

ON THE HEAD

detail.png

HEAD ROTATION.gif

FULL BODY

model.png

BODY ROTATION.gif

SCULPT08SCULPT07SCULPT06


zbrush 1st attempt

So I’ve never used zBrush Before and i’m really excited to attempt it. So i’m trying to learn some of the basics and I’ve been watching a couple of tutorials on Digital Tutors to try and and work out how to move around and what the layout is like. It is pretty confusing straight off the bat. The rotate, move and scale are all similar but different to Maya which is going to take some getting used to. I’m also working out how to create polyspheres and manipulate them. So far I gather that the most important hot keys for brushes to do this are…

BCL – Clay brush tool 

BMV – Move tool for relocating sections of mesh

These are the main two i’m going to use

Time to try them out. Lets make a dogs head as I’m pretty familiar with the structure.


ZBRUSH01ZBRUSH02ZBRUSH03ZBRUSH04zbrush05zbrush06zbrush07zbrush10SCULPT12SCULPT11

Nicholas Kole

So the artist’s work Abigail and Myself have decided to base our sculpts off is Nicholas Kole. Abigail showed his work to me and it is really gorgeous. He is an Illustrator/concept artist (Disney Publishing/Waystone Games)

So we browsed his concept work for a long time trying to find some that would potentially make good 3d sculpts.

His creature design from Project Copernicus is really stunning. The designs are really stylized and sharp. They have a warmness and definite appeal (even some of the less attractive creatures). His colour choice always compliments the designs beautifully. Here are some of my personal favorites from Project Copernicus…


-https://www.behance.net/gallery/8532241/Project-Copernicus

Sculpting wise I really want to create  more of an animal creature. Preferably a quadruped.

-http://nicholaskole.blogspot.co.uk/2015/08/over-year.html

Here are some of his earlier designs

yer man 01

https://www.youtube.com/watch?v=mHiDlz4zWdU&feature=youtu.be

I really love the end design. The aquatic creature is just gorgeous. In particular the side profile drawing of him extended it fantastic and would be great to model. So I think I’ve selected my subject for the sculpting project! I don’t want to create him exactly but instead base my design on it.


Check him out!

This is his Blog – http://nicholaskole.blogspot.co.uk/2015/08/over-year.html

And Gallery – https://www.behance.net/nicholaskole